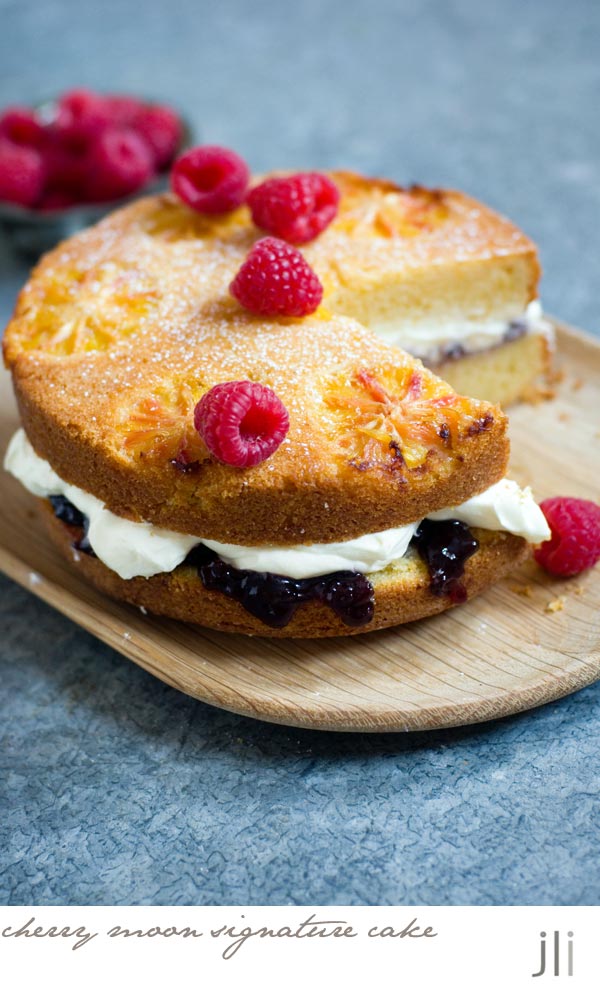
cherry moon signature birthday cake
When the November issue of Delicious magazine landed in my letterbox, I spied a photo of the Cherry Moon signature birthday cake. I was only in Sydney for a fleeting visit and as I had all the ingredients to make the cake, apart from the cream and fresh raspberries to top the cake, I made a quick decision to bake the cake before I returned Brisbane.
I baked the cake and while it was cooling, made a trip to the shop for some cream and a punnet of fresh raspberries. Before you knew it the cake was cooled, filled and photo ready.
I needed to tweak the proportions of the recipe a little for my smaller cake otherwise the batter would have been too runny and slightly changed the method, otherwise it's quite faithful to the original. Here's the recipe for you which makes a 17cm cake. For all my recipes I use a 250ml cup and a 20 ml tablespoon, unsalted butter and 60g eggs. My oven is a conventional gas oven so if your oven is fan forced you may need to reduce the oven temperature by 20°C.
Cherry Moon signature birthday cake – 17cm version
Ingredients
1 small orange, rind grated and reserved, peeled and then sliced into 7 rounds
150g raw caster sugar, plus 2 extra teaspoons
¾ cup (115g) SR flour
¼ cup (35g) Plain flour
pinch salt
60g unsalted butter, chopped, at room temperature
1 tsp vanilla extract
2 large eggs, at room temperature
85ml (1/3 cup) vegetable oil
40ml buttermilk or yoghurt, at room temperature
Pure icing sugar, to dust
Fresh raspberries and edible flowers (optional), to serve
Filling
200ml thickened cream, whipped
1/2 cup (160g) raspberry or berry jam
200ml thickened cream, whipped
1/2 cup (160g) raspberry or berry jam
Method
Preheat oven to 180°C conventional/160°C fan-forced. Grease and flour the base and side of a 17cm round springform cake pan, and then line base with baking paper.
Sprinkle both sides of orange slices with a tsp of the extra sugar and then arrange in a single layer over base of prepared pan.
Sift flours and salt together into a bowl then set to one side.
Using a stand mixer fitted with the paddle attachment, cream the butter with the sugar, orange rind and vanilla on medium-high speed for 7 minutes until light and fluffy (the sugar won't be totally dissolved). Add the eggs, one at a time, mixing well on medium speed between each addition. Reduce speed to low, then gradually drizzle in the oil, mixing constantly until it forms a mayonnaise consistency.
Add sifted dry ingredients in 3 batches, mixing well after each addition, alternating with the buttermilk until well combined and a smooth and thick batter has formed (do not overmix). Carefully spoon batter over the oranges in the prepared pan, trying not to disturb their placement. Level top using a spatula. Sprinkle top evenly with the remaining tsp extra sugar.
Bake for 30-40 minutes on the centre rack of the preheated 180°C conventional/160°C fan-forced oven until a skewer inserted in the centre comes out clean and the top is golden. Let the cake cool for 10 minutes on a wire rack before releasing the cake from pan and inverting the hot cake onto the rack, orange slices facing up. Allow the cake to cool completely and develop a crust before slicing.
Once cooled, use a large serrated knife to carefully split cake horizontally into two layers. Place the cake base (without orange slices) on a serving platter, spoon over the jam and then dollop with whipped cream. Top with the other cake half, orange slices facing up.
Serve cake scattered with raspberries and edible flowers, if using, and lightly dusted with icing sugar.


No comments
Post a Comment